


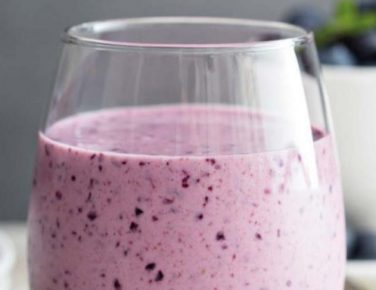
Quark Smoothie
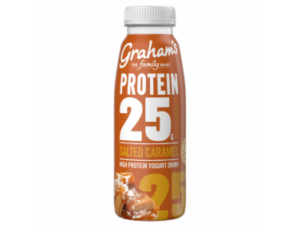
The ideal way to incorporate some of your 5 a day. Tangy fruit flavours blend perfectly with the low fat, high protein goodness of Graham’s Quark.


This recipe is for a yeasted bread that works so well, you’ll want to make the effort.
1 hour and 20 minutes
10 minutes
Medium
11
Breads raised with bicarb should be cooked on the stove top. The slow heat of the oven gives your loaves a predictable and even rise, whereas the harshness of the hob gives unparalleled lightness in Shetland bannocks and Irish soda farls. Many disagree. Some of the lightest bannocks I’ve had – little more than a mixture of flour, raising agent and buttermilk – have been baked slowly in the oven. For this, my only explanation is witchcraft.
Crumpets and English Muffins, both yeasted, are equally delicious and must be cooked on the hob. But when it came to going to the effort of making a bread dough, I didn’t want those breads with limited breakfast use. I wanted a loaf – hearty, crusty, awesome. This recipe is for a yeasted bread that works so well, you’ll want to make the effort. It’s seriously addictive. I bet that at least three of these wee flatbreads won’t make it much further than the frying pan. They can be served on the side of any savoury meal, but would also make great wraps for lunches and snacks.
Start at least 90 minutes before you want these to be ready. First, make your dough. There’s no kneading or faff here – just chuck your flour, yeast, salt and water into a large bowl. Make sure you weigh them first, obviously.
Mix these together until you’ve got something that resembles a sticky dough. Don’t add any more flour if it sticks everywhere – this is a good thing. Cover the bowl with cling film and leave it to rest at room temperature for 30 minutes.
Remove the cling film and, using one wet hand, stretch and fold your dough. Any bubbles that have formed should be smooshed, and you’ll notice that within 10-15 seconds that you’ve got a smooth bread dough. Replace this with cling film and leave it for another hour, or so.
Whilst that’s resting, cut your cheese into cubes of about a half-centimetre square. After your hour, turn your risen dough out onto a floured surface. Use a scraper or spatula to divide it into 10 even lumps.
Divide your cheesy lumps between doughy lumps by sprinkling them on top. Then, place each dough, one by one, on a new bit of floured surface area, and roll it out until flat. You want it very thin, less than the thickness of a pound coin. As you’re rolling, you’ll squash the cheese in a quite satisfying way.
Keep rolling your cheesy lumps out until you’ve got 10 raw flatbreads (if you’ve got a friend, they’ll be able to start frying as you roll). Get a couple of large frying pans on a medium-high heat, and using a little oil to stop them sticking, fry each flatbread. You want to do it for at least a couple of minutes on each side, so the cheese melts and turns a golden brown colour.
Stack up your cooked breads, ready for serving. They work well both hot and cold, and can be microwaved later on. For an awesome, extra and indulgent touch, spread with butter as you stack.
Which cheese you use is up to you – try grating some Parmesan into the dough, or sprinkling over some Feta just before you roll these out.
Enjoy!
The ideal way to incorporate some of your 5 a day. Tangy fruit flavours blend perfectly with the low fat, high protein goodness of Graham’s Quark.
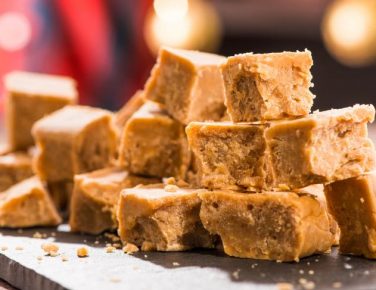
Tablet is a great way to get started with baking: it’s easy, it’s delicious and even if you don’t like it, chances are you know someone who does.
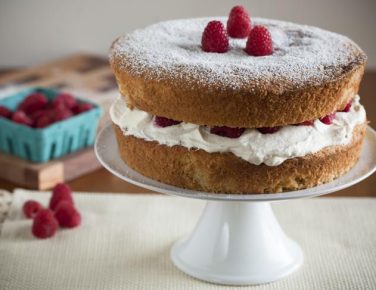
A deliciously, sugar dusted cake. Suitable for kids to cook and adults to eat. For all those budding bakers out there, this is the perfect recipe to start with.