


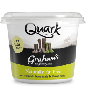


Quark Smoothie
The ideal way to incorporate some of your 5 a day. Tangy fruit flavours blend perfectly with the low fat, high protein goodness of Graham’s Quark.
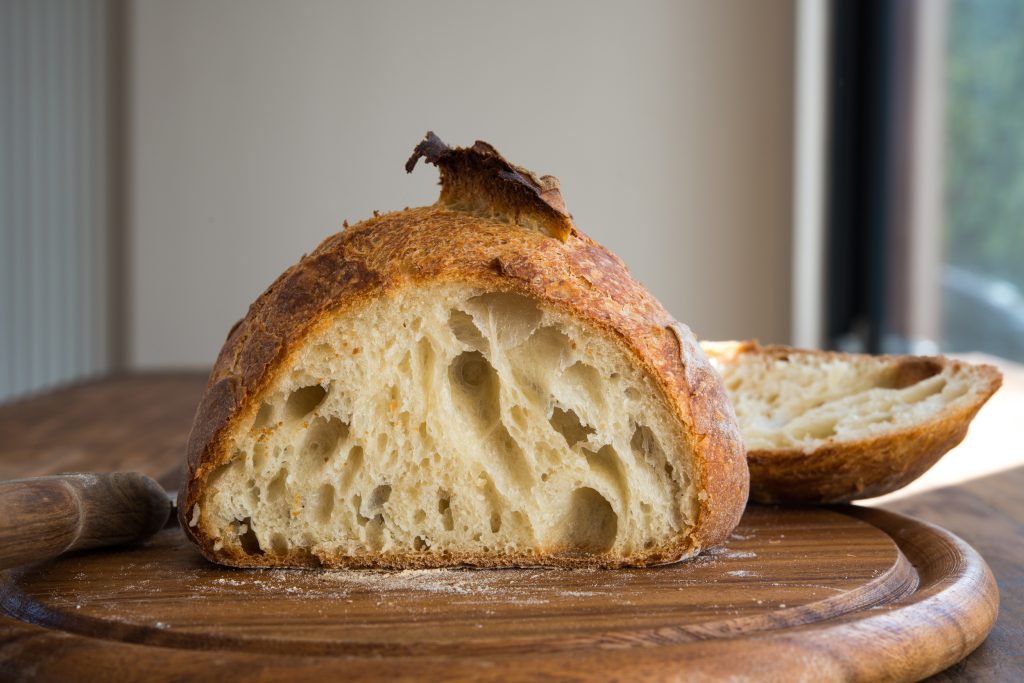

If you want a simple, super-awesome bread, that’s as forgiving as you like, you just need one piece of equipment that you definitely already have. A casserole pot.
30 minutes
1 hour and 30 minutes
Medium
6
If you want to make bread as good as the best bakeries in the world, there are plenty of books available on the subject (ahem). But if you just want a simple, super-awesome bread, again and again, that’s as forgiving as you like, you just need one piece of equipment that you definitely already have. A casserole pot. Ideally, you want something that’s big and heavy – I use an old orange Le Creuset that I inherited from my mum, but all the big supermarkets and Swedish furniture superstores sell much cheaper cast-iron alternatives. But even a simple, standard stainless steel pot is better than nothing. The pot does several things. The thick, preheated bottom acts like a baking stone to cook the bread from the bottom up, giving an even texture. Then, the lid locks in the steam that the bread shoots off during the bake. The steam is important – it slows the crust from forming so the bread just rises and rises unimpeded in the oven. This is called ‘oven spring’. Then, the sugars that naturally coat the edge of the dough are caramelised, giving a beautiful, crunchy final crust. Best make a double batch, for the first loaf will be gone before it’s cool.
Into a large bowl, weigh your flour. Add your sachet of yeast on one side of the bowl and stir it in, then add your salt on the other side of the bowl and stir that in too. This is just to stop the salt harming the yeast.
Add in your cold water and mix everything to combine into a rough dough. You might find this dough a little wetter than you’re used to – this is a good thing.
Cover (with cling film or a wet tea towel) and leave your dough (yes, no kneading needed) to rest for about 30-60 minutes, or until you can see a few bubbles appearing on the surface. Then, stick your hand in and fold it over several times until stretchy. This step replaces kneading.
Re-cover your dough and leave it at room temperature for another hour or so. Alternatively, put it in the fridge for 8-12 hours, whilst you’re at work or sleeping.
When your dough has doubled in size (or so), it’s ready for shaping. Scrape your dough out onto a well-floured surface, then pull a portion of the edge and fold it into the middle. Work your way around, repeating this several times. Then, flip your dough over (it should now be smooth on top) and karate chop your hands together, twisting at the same time, underneath to make a tight ball.
Place this on a well-floured (semolina is even better) chopping board to rest for a final half an hour. Meanwhile, preheat your oven to 220C/200C fan/Gas 8, with a casserole pot and lid inside. There’s no need to grease.
After half an hour, score your dough in a cross on the top, then remove your pot from the oven and slide the loaf in. Replace the lid and bake for 20 minutes. After that, remove the lid and bake for a final 20 minutes until a dark golden brown. When ready, your bread will just plop out of your pot. Try to let it cool before enjoying.
Enjoy!
The ideal way to incorporate some of your 5 a day. Tangy fruit flavours blend perfectly with the low fat, high protein goodness of Graham’s Quark.
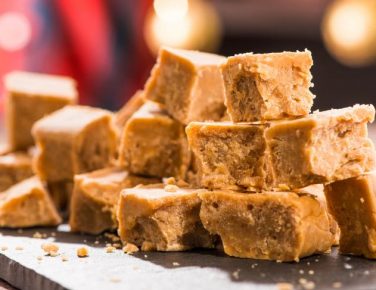
Tablet is a great way to get started with baking: it’s easy, it’s delicious and even if you don’t like it, chances are you know someone who does.
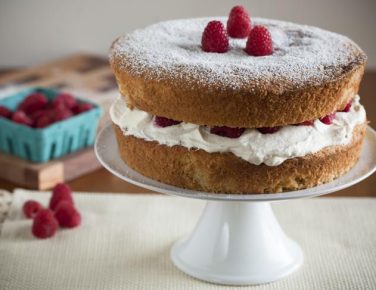
A deliciously, sugar dusted cake. Suitable for kids to cook and adults to eat. For all those budding bakers out there, this is the perfect recipe to start with.