
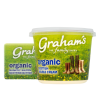

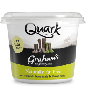


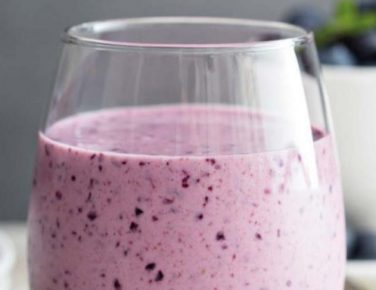
Quark Smoothie
The ideal way to incorporate some of your 5 a day. Tangy fruit flavours blend perfectly with the low fat, high protein goodness of Graham’s Quark.
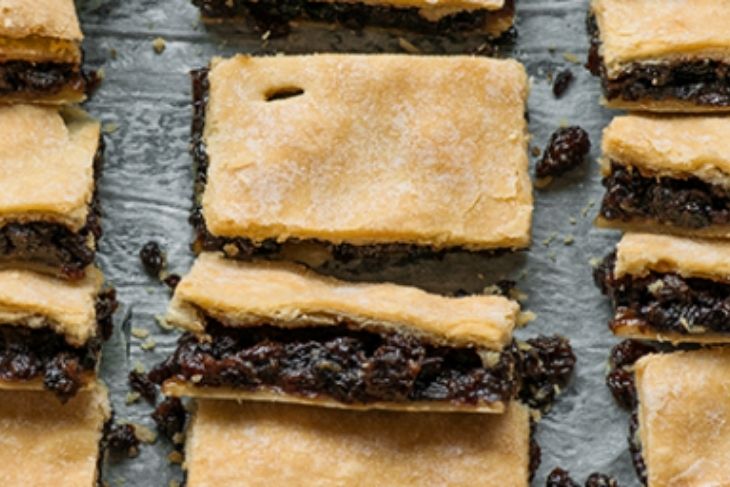

I can imagine the peak enjoyment for these fruit slices comes at the peak of a Monroe, crumbling into the just unwrapped cling film and with hot, strong tea from a flask.
40 minutes
40 minutes
Medium
16
A fairly recent revelation to me, I’ve seen fruit slices in bakeries across Scotland all my life. I’d never considered even trying a fruit slice – it just looks like pastry and dried fruit. Why would it be worth picking that over a meringue or custard tart?
Just take a look at the common name for this humble slice: Fly’s Graveyard. So called because the dense, black mush of fruit look’s not unlike a homemade flytrap at the peak of Summertime. Oh, but how mislead I was. I realise now that my thinking should have been the opposite of what it was – these slices have a disgusting name and look a mess, but they’re everywhere. People love them, despite their flaws. Logically, they must be awesome. And so they are. If you’ve ever had an Eccle’s or a Chorley cake, this is like the supersized, pimped-up Scottish version. I’m not going to pretend this is a dainty, light treat. I can imagine its peak enjoyment comes at the peak of a Monroe, crumbling into the just unwrapped cling film and with hot, strong tea from a flask. God, they’re good.
First, make the pastry. Or buy it, I don’t mind. Weigh out your flour into a large bowl, followed by your chilled butter. Chopping your butter into little cubes can make it easier to rub in.
Rub your butter into your flour using your hands. Do this by grab two handfuls of the contents of your bowl, then rubbing both your thumbs across the rest of your fingers. Imagine using your fingers like the rough surface of a washboard. Keep doing this until your mixture resembles breadcrumbs.
Add your ice cold water, and gently mix it in using a butter knife. Once it’s coming together a little, use your hands to bring the pastry together into a dough. If you have to work it a little for it to come together, that’s fine. Just don’t add any more water.
Wrap your pastry in cling film and fridge it for at least 15 minutes, but up to 2 days.
Preheat your oven to 180C/160C fan/Gas 4, and line a large, lipped baking tray or dish with baking paper. Make your filling by heating your butter, sugar and spice in a pan over a medium heat until combined and melted. Weigh your currants into a large bowl, then cover these in your melted loveliness and mix.
Divide your pastry in two. On a floured surface, roll the first half out into a large rectangle, about the thickness of a £1 coin, then place this on your lined tray. Leave 1cm of pastry dangling over the edge, but cut off any excess more than that. Spread your fruity filling out over the pastry.
Roll out your other half into a similarly sized rectangle, and place this on top, pressing down at the edges to seal (brushing a little milk will help it come together). Stab a few wee slits into your pastry to let the air out, then sprinkle on top with caster sugar. Don’t glaze it.
Bake for 40-50 minutes, or until the pastry is turning a golden brown colour. It needs this long to avoid the dreaded soggy bottom. Leave to cool before slicing, and definitely don’t tuck in whilst still warm, or you risk quite serious burns. Enjoy!
My problem with the shop-bought versions of these is the pastry. Its too thick and it makes for a dry, cloying treat. You want your pastry thin, so the fruit take centre stage.
Enjoy!
For the pastry:
For the filling:
The ideal way to incorporate some of your 5 a day. Tangy fruit flavours blend perfectly with the low fat, high protein goodness of Graham’s Quark.
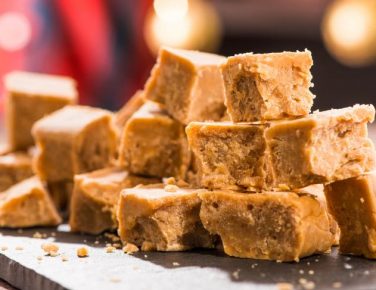
Tablet is a great way to get started with baking: it’s easy, it’s delicious and even if you don’t like it, chances are you know someone who does.
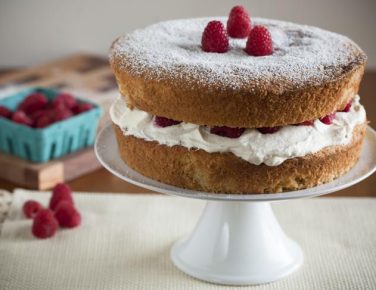
A deliciously, sugar dusted cake. Suitable for kids to cook and adults to eat. For all those budding bakers out there, this is the perfect recipe to start with.